As we know, now the Notification Center framework has been deprecated for creating and managing app extensions that implement widgets, so we have to use WidgetKit instead. WidgetKit gives users glance to important info without the need to open your app by putting widgets on the iOS Home screen or macOS Notification Center.
To implement a widget, you have to add a widget extension to your app. Basically, you configure the widget with a timeline provider and use SwiftUI views to display the widget’s content. The timeline provider then tells WidgetKit when to update your widget’s content.
Note: In this tutorial, I’m using Xcode 12.2 and maybe some configurations will be different with your environment.
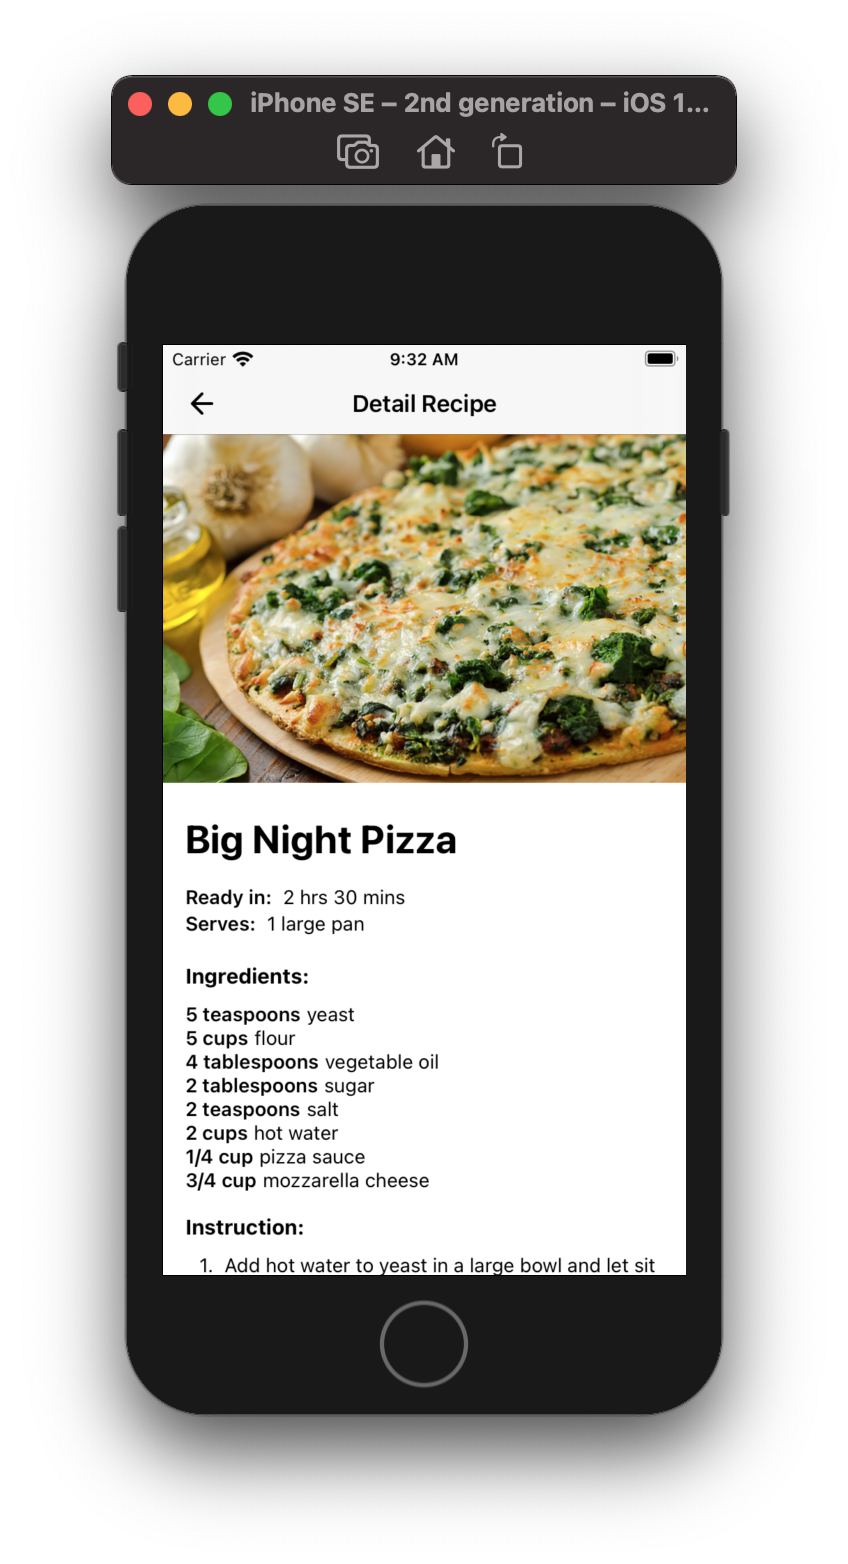
We will make a widget for a simple app named HeartyRecipe, an app that provides recipe lists and its details. The widget we created will show a random recipe every 1 hour. You can download the starter project here.
  |
Before we add a widget target to the app, we have to know the contents of the project. Look at the project navigator. There are 3 main folders:
- Model folder containing the model to represent the data that will be displayed by the app. This folder contains the following files:
- Recipes.json file that holds static recipe data in JSON format.
- RecipeBaseClass.swift file, contains RecipeBaseClass struct that represents the structure of recipe data stored in Recipes.json.
- RecipeIngredients.swift file, contains RecipeIngredients struct that represents the structure of recipe ingredients used in RecipeBaseClass.
- Data.swift, file that contains the code for loading JSON from Recipes.json and convert it as RecipeBaseClass struct.
- View folder containing some files that contain the view that will be displayed by the app. This folder contains 3 following files:
- ContentView.swift, contains the view that displays a list of recipes.
- DetailRecipeView.swift, contains the view that displays the detailed recipe.
- RecipeRow.swift, contains the view that represents the recipe list item view and is used in ContentView.swift.
- SupportingView folder contains some custom views that will be used in the app. This folder contains 2 following files:
- HostingController.swift, contains a subclass of UIHostingController named HostingController that was created to change the default status bar style.
- Image+Ext.swift, contains an extension of Image that stores additional functions to customize the Image.
Additionally, the project contains Assets.xcassets that stores images such as icon, recipe images, banner, and other images that are used by the app.
Add a Widget Target to The App
The first step is to create a Widget Extension target in your project. The Widget Extension template provides a starting point for creating your widgets.
- Open the sample app project in Xcode and choose File > New > Target.
- From the Application Extension group, select Widget Extension, and then click Next.
 |
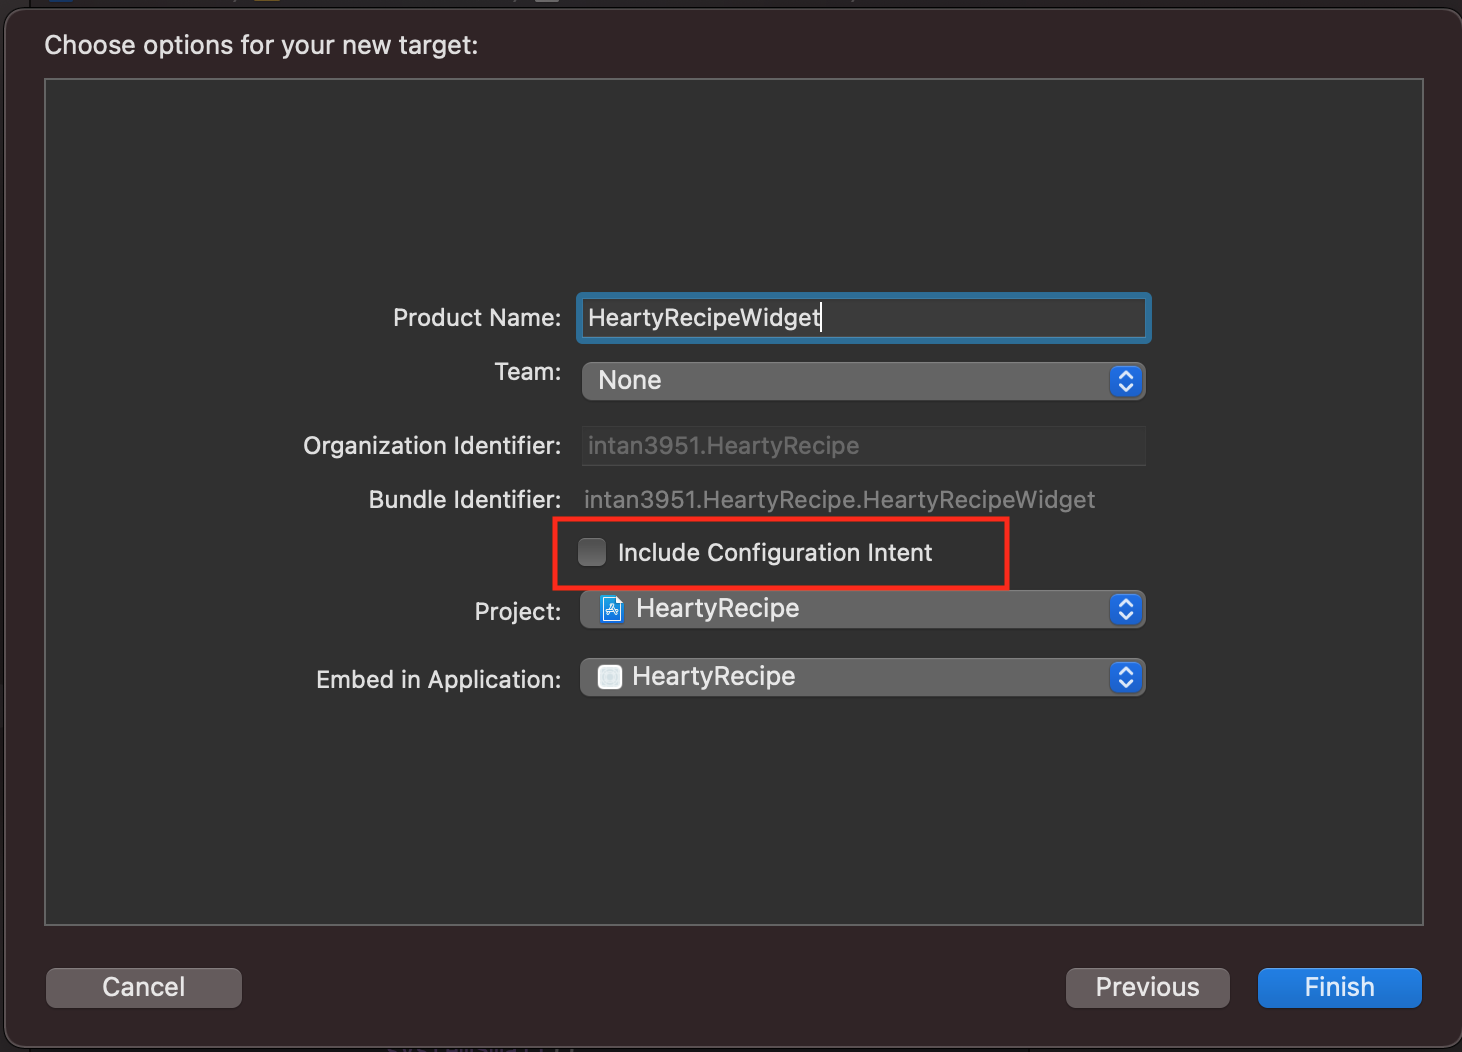
- Enter the name of your extension. I am going to name it “HeartyRecipeWidget”.
- We do not need the configuration in this tutorial, so make sure to uncheck the Include Configuration Intent checkbox. And then click Finish.
 |
On the project navigator, now you can see that Xcode has created the HeartyRecipeWidget folder. Go ahead and open the HeartyRecipeWidget.swift. This file stores the skeleton code that is required to build a widget.
Data of your widget will be provided through a TimelineEntry that can be updated based on your app’s use case. The first thing you should see in HeartyRecipeWidget.swift is a TimelineProvider. The getSnapshot(context:completion:) function is used to provide a TimelineEntry to present a widget view that is used in transient situations, for example, in the widget gallery.
struct Provider: TimelineProvider {
    // ...

    func getSnapshot(in context: Context, completion: @escaping (SimpleEntry) -> ()) {
        let entry = SimpleEntry(date: Date())
        completion(entry)
    }

    // ...
}
After that, you have to see the getTimeline(context:completion:) method. This method provides an array of timeline entries, one for the present time, and others for future times based on your widget’s update interval. We will update the widget with a random recipe every hour, so the timeline entries in this widget will be 1 hour apart from each other.
struct Provider: TimelineProvider {
    // ...

    func getTimeline(in context: Context, completion: @escaping (Timeline<Entry>) -> ()) {
        var entries: [SimpleEntry] = []

        // Generate a timeline consisting of five entries an hour apart, starting from the current date.
        let currentDate = Date()
        for hourOffset in 0 ..< 5 {
            let entryDate = Calendar.current.date(byAdding: .hour, value: hourOffset, to: currentDate)!
            let entry = SimpleEntry(date: entryDate)
            entries.append(entry)
        }

        let timeline = Timeline(entries: entries, policy: .atEnd)
        completion(timeline)
    }
}

// ...
Next, see the placeholder(context:) method. This method provides a TimelineEntry to display our widget on the lock screen and before rendering the widget’s content.
struct Provider: TimelineProvider {
    func placeholder(in context: Context) -> SimpleEntry {
        SimpleEntry(date: Date())
    }

    // ...
}

// ...
Below that is the code that defines the TimelineEntry, which we will be updating later. Then there is HeartyRecipeWidgetEntryView that defines the visual. And finally, there is the HeartyRecipeWidget struct marked with the @main annotation. That annotation means that this is where the entry point of the widget is.
// ...
struct SimpleEntry: TimelineEntry {
    let date: Date
}
struct HeartyRecipeWidgetEntryView : View {
    var entry: Provider.Entry
    var body: some View {
        Text(entry.date, style: .time)
    }
}
@main
struct HeartyRecipeWidget: Widget {
    let kind: String = "HeartyRecipeWidget"
    var body: some WidgetConfiguration {
        StaticConfiguration(kind: kind, provider: Provider()) { entry in
            HeartyRecipeWidgetEntryView(entry: entry)
        }
        .configurationDisplayName("My Widget")
        .description("This is an example widget.")
    }
}
struct HeartyRecipeWidget_Previews: PreviewProvider {
    static var previews: some View {
        HeartyRecipeWidgetEntryView(entry: SimpleEntry(date: Date()))
            .previewContext(WidgetPreviewContext(family: .systemSmall))
    }
}
Embedded Framework
We have to create an embedded framework if the main app and Widget extension need to access the same code or resources. In this application, we will use the entities in Model folder and the assets in the Assets.xcasssets. Therefore, we need to create a new framework that contains those shared codes and shared resources.
Create New Xcode Project Using The Framework Template
- In Xcode from the menu bar, choose File > New > Project.
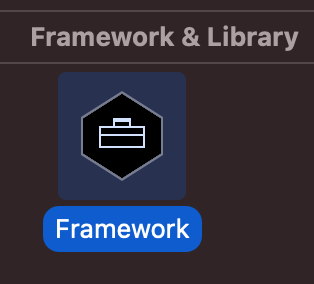
- From the Framework & Library group, choose Framework, and then click Next.
 |
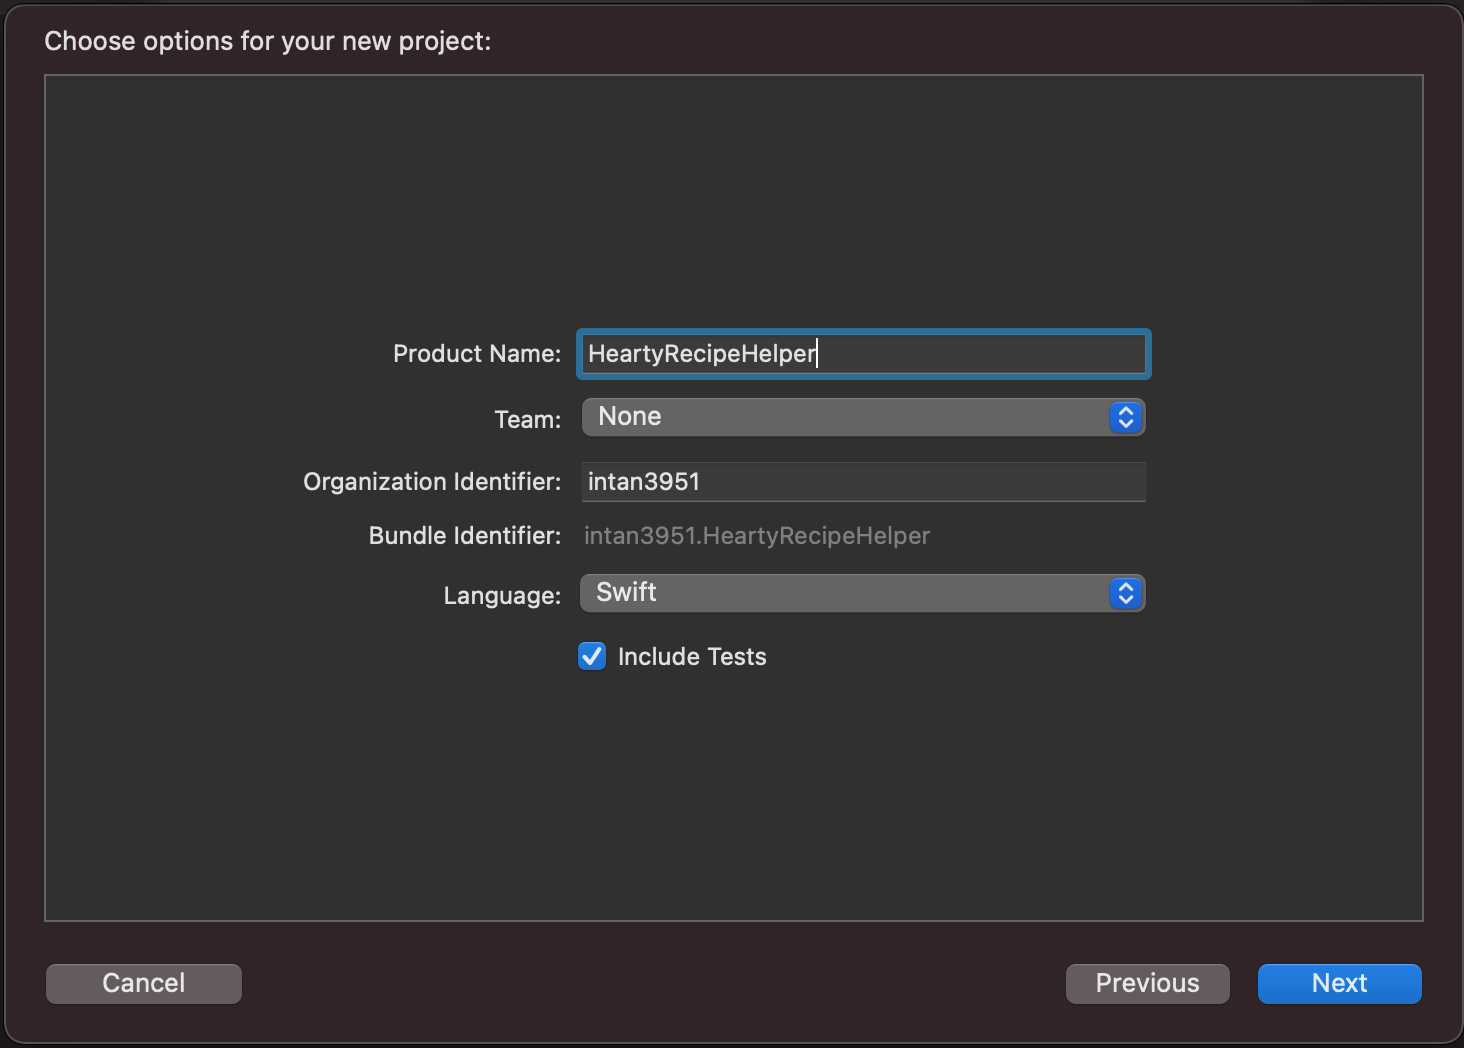
- Enter the name of your framework. I am going to name it “HeartyRecipeHelper”. Make sure that the selected language is Swift.
 |
Place Shared Code in Embedded Framework
If the main app and Widget extension require access to the same classes, those classes must be extracted into an embedded framework. In the starter project, the model is located in Model folder.
- In Xcode, open the HeartyRecipe project and delete the Model folder. Then choose Remove References.
  |
- In Finder, move the Model folder from HeartyRecipe project folder to HeartyRecipeHelper framework folder.
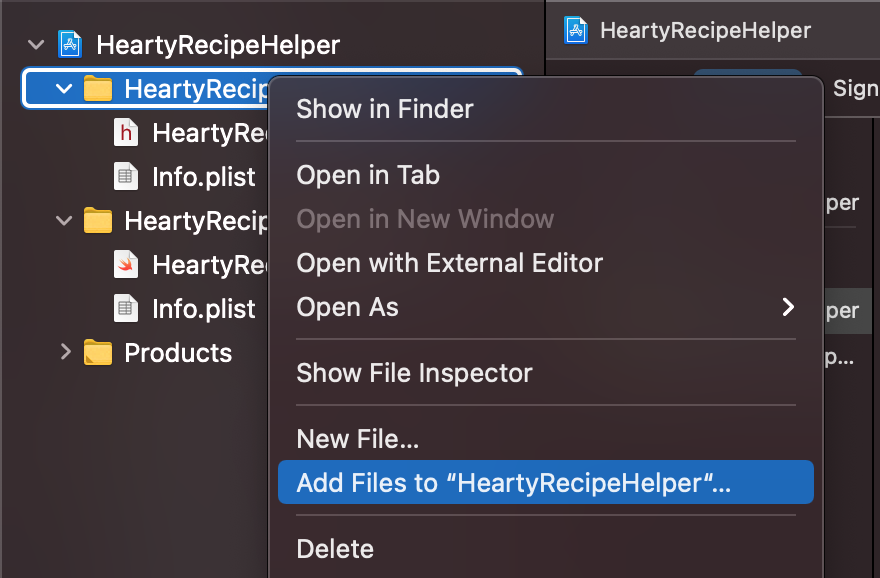
- Then in Xcode, open the HeartyRecipeHelper framework. In the HeartyRecipeHelper folder, select Add Files to “HeartyRecipeHelper”. Then, choose the Model folder that we moved earlier.
 |
Do the same thing to the Image+Ext.swift file inside the SupportingView folder of the HeartyRecipe project.
In order to make any structs or other entities in Model and SupportingView folder available from the other targets, they must be made explicitly public.
Place Shared Assets in the Embedded Framework
If both the main app and the Widget extension use images or other assets, as in this sample, include them in assets from the embedded framework. In this sample project, the recipe data is provided from a static JSON file Recipes.json, where the imageURL field contains the name of the image file inside the Assets.xcassets bundle. So, in order to make the assets available from the other target, we have to move the images that are referred to in Recipes.json.
- In Xcode, open the HeartyRecipe project. Right click in the Assets.xcassets bundle and choose Show in Finder.
- Move the following folder to Assets.xcassets folder of HeartyRecipeHelper framework.
 |
Now your HeartyRecipeHelper framework should look like this.
 |
How Do We Consume The Framework?
We have to link the framework target, which is the sample app that we added the Widget Extension to earlier, using workspace.
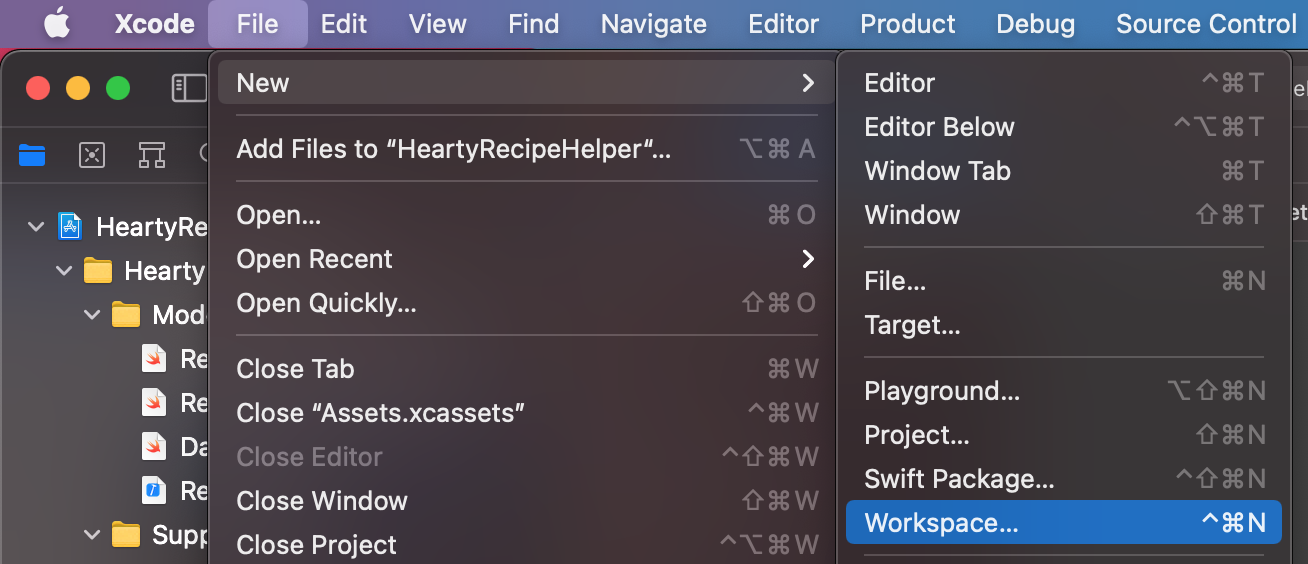
- In Xcode, from the menu select File > New > Workspace.
 |
- Name the workspace HeartyRecipe then click Save.
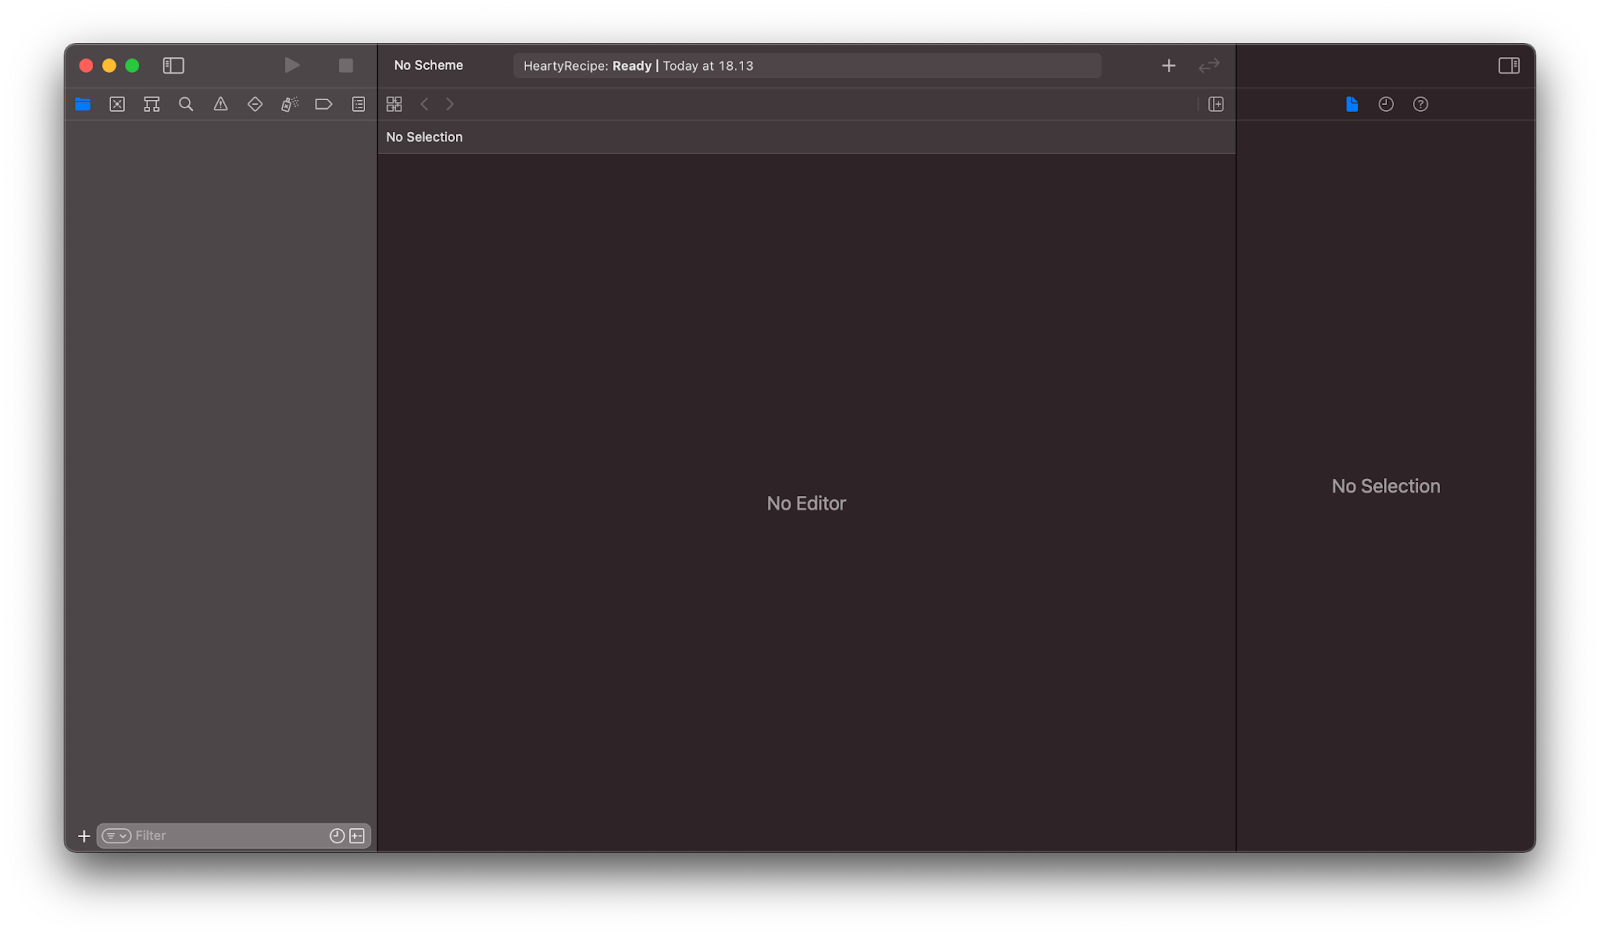
- At this point, you will see an empty Xcode window.
 |
- Here we will add the xcodeproj files into the project navigator. Before we do that, close all other Xcode windows. If multiple Xcode windows are open with the same project then only the first one will show the contents of that project.
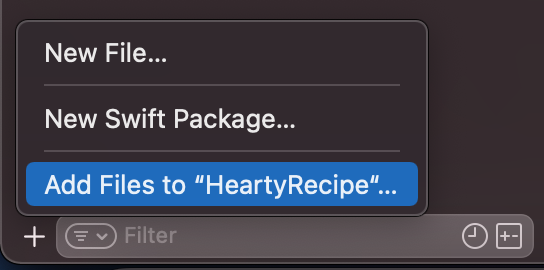
- Click on the “+” button at the bottom left of the project navigator then click Add Files to “HeartyRecipe”. Then add the xcodeproj file of both HeartyRecipe.xcodeproj and HeartyRecipeHelper.xcodeproj into it.
 |
- Select the HeartyRecipe project on the project navigator.
 |
- Then in the editor pane under the General tab and Frameworks, Libraries and Embedded Content click the “+” button. Then select HeartyRecipeFramework.framework.
 |
- Now the framework is linked and embedded into HeartyRecipe.
After this, we still get the error from the missing model, so we have to perform the following instruction to make it work.
- Since the assets that were used by the recipe list are now located in the embedded framework, the way to load the image needs to be updated. In HeartyRecipeHelper, copy the following code to the Image extension in Image+Ext.swift from SupportingView folder.
public static func loadLocalImage(image named: String) -> Image {
    let imageName = named == "" ? "ic_not_found" : named
    return Image(imageName, bundle: Bundle(identifier: IDENTIFIER))
}
Make sure to change IDENTIFIER with the string of your HeartyRecipeHelper framework’s bundle identifier.
Note: to see your HeartyRecipeHelper framework’s bundle identifier, in the project navigator select HeartyRecipeHelper, then in the editor pane under the General tab, look at the Bundle Identifier.
- Import the HeartyRecipeHelper in ContentView.swift, DetailRecipeView.swift, and RecipeRow.swift.
| import HeartyRecipeHelper |
- In DetailRecipeView.swift and RecipeRow.swift, change the following code:
| Image(recipe?.imageURL ?? “ic_not_found”) |
to the following code:
| Image.loadLocalImage(image: recipe?.imageURL ?? “”) |
Now your code should look like this: DetailRecipeView.swift RecipeRow.swift
Build the project and check if it still contains errors. Do not forget to set all the entities such as struct, function, and variable in HeartyRecipeHelper to public.
Create Widget View
Now we can define the UI of our widget. We will be putting this in a separate swift file.
- In the HeartyRecipeWidget folder, create a new swift file and name it HeartyRecipeWidgetView.swift, making sure it’s added as part of the HeartyRecipeWidgetExtension target.
 |
- Add the content of our widget, like this:
import Foundation
import SwiftUI
import WidgetKit
import HeartyRecipeHelper
struct HeartyRecipeWidgetView: View {
    var recipe: RecipeBaseClass?

    var body: some View {
        ZStack(alignment: .top) {
            Color(.white)
            VStack(alignment: .leading) {
                Image.loadLocalImage(image: recipe?.imageURL ?? "")
                    .centerCropped()
                    .frame(height: 64)
                    .cornerRadius(10)

                Text("\(recipe?.getTime() ?? "") • \(recipe?.serving ?? "1 portion")")
                    .font(.system(size: 10, weight: .regular, design: .default))
                Text(recipe?.name ?? "")
                    .font(.system(size: 12, weight: .semibold, design: .default))
                    .multilineTextAlignment(.leading)
            }
            .padding()
        }
    }
}
struct HeartyRecipeWidgetView_Previews: PreviewProvider {
    static var previews: some View {
        HeartyRecipeWidgetView(recipe: recipeData?[7])
           .previewContext(WidgetPreviewContext(family: .systemSmall))
    }
}
3. Now, go to Data.swift in Model folder in HeartyRecipeHelper, and add the getRandomRecipe() like this:
import Foundation
public var recipeData: [RecipeBaseClass]? = loadJsonFromFile()
// load dummy data from json file
func loadJsonFromFile(fileName: String = "Recipes") -> [RecipeBaseClass]? {
    // ...

}
public func getRandomRecipe() -> RecipeBaseClass? {
    guard !(recipeData?.isEmpty ?? true) else {
        return nil
    }
    let randomIndex = Int.random(in: 0..<(recipeData?.count ?? 0))
    return recipeData?[randomIndex]
}
4. We can now modify the TimelineEntry so that it includes an instance of RecipeBaseClass.
import WidgetKit
import SwiftUI
import HeartyRecipeHelper
// ...
struct SimpleEntry: TimelineEntry {
    let date: Date
    let recipe: RecipeBaseClass?
}
// ...
5. We have to update the code so that we provide a RecipeBaseClass instance wherever we create a TimelineEntry. This is also where we will use the getRandomRecipe() method.
| SimpleEntry(date: Date(), recipe: getRandomRecipe()) |
6. In HeartyRecipeWidgetEntryView, replace the default Text component and use the HeartyRecipeWidgetView and get the RecipeBaseClass from the entry.
struct HeartyRecipeWidgetEntryView: View {
    var entry: Provider.Entry
    var body: some View {
        HeartyRecipeWidgetView(recipe: entry.recipe)
    }
}
7. Finally, update the widget’s name and description. Since for now we only support small widgets, we also have to update the configuration by adding supportedFamilies. We can do that by updating the StaticConfiguration.
@main
struct HeartyRecipeWidget: Widget {
    let kind: String = "HeartyRecipeWidget"
    var body: some WidgetConfiguration {
        StaticConfiguration(kind: kind, provider: Provider()) { entry in
            HeartyRecipeWidgetEntryView(entry: entry)
        }
        .configurationDisplayName("Hearty Recipe Widget")
        .description("Display a widget with a random recipe that is updated every 1 hour.")
        .supportedFamilies([.systemSmall])
    }
}
8. Test the widget in the simulator by first setting the active scheme to be the HeartyRecipeWidgetExtension.
 |
9. Run your app. You should be able to see the widget in the simulator. Pressing it will open the HeartyRecipe app.

Thank you for reading! You can find the completed app project here.
To make the widget extension in different sizes, read the tutorial at Make App Widgets in Different Sizes.
Reference
https://developer.apple.com/documentation/widgetkit
https://developer.apple.com/documentation/widgetkit/creating-a-widget-extension
https://anuragajwani.medium.com/how-to-make-reusable-swiftui-code-using-frameworks-b89f425c5ee6
https://medium.com/swlh/build-your-first-ios-widget-part-1-d2cecdd4020a
Intan Nurjanah is an iOS Developer at GITS.ID.
GITS.ID is helping our clients with developing applications. The example is a mobile app based in Android and iOS, with Toyota. It can be read more here.